 Blaine Roofing
 Building New Near the Water Changes What "Correct" Means
A new-construction window installation gives you one advantage a remodel never does: you get the window right the first time, before siding, trim, and interior finishes lock everything in place. That matters more here than it does in most parts of the state. Homes going up around Bellingham and Blaine sit close to Puget Sound, Drayton Harbor, or Boundary Bay, which means salt-laden air, wind-driven rain, and a long wet season all start working on a house the day the windows go in. Get the flashing and water management wrong at the framing stage, and you're chasing rot and callbacks for the life of the house. Get it right, and the windows can outlast the siding around them.
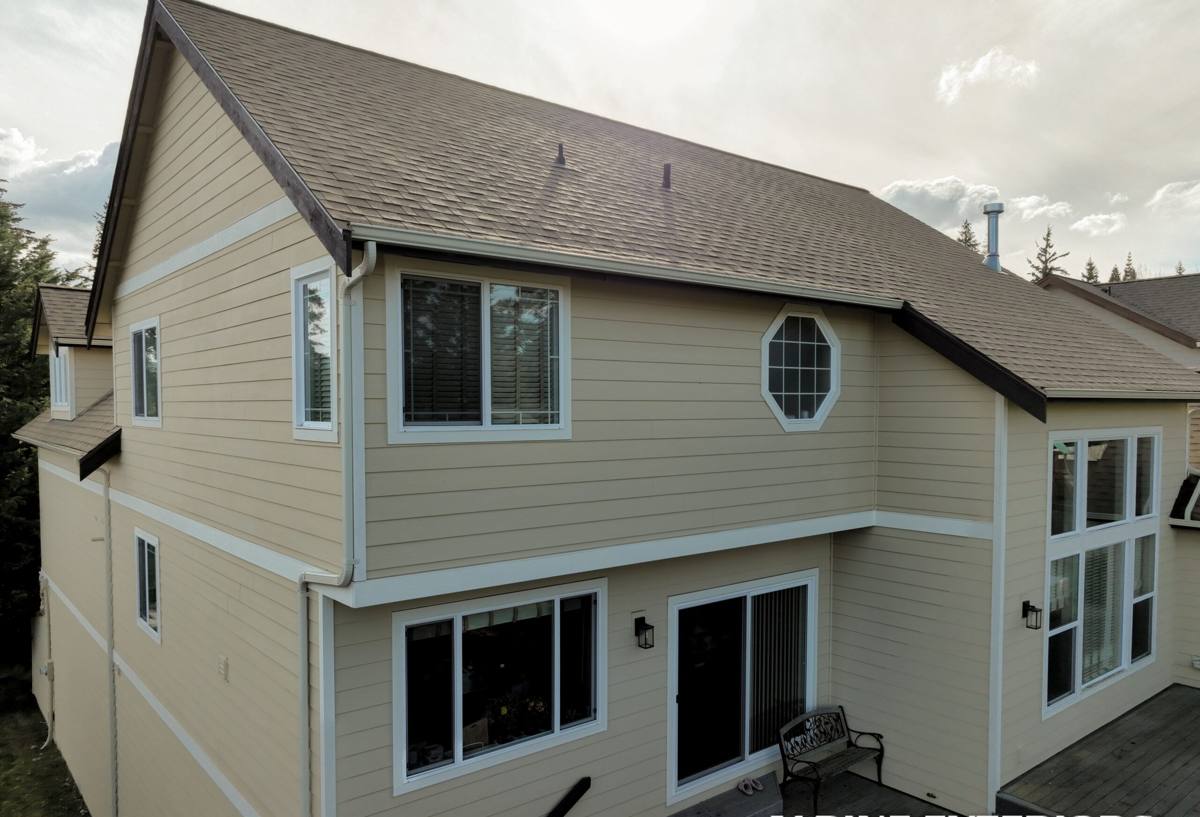
What Whatcom County's Climate Actually Does to a Window Opening
Whatcom County doesn't get hurricanes or hailstorms. What it gets is worse in a slow, cumulative way: near-constant moisture and salt exposure, month after month, year after year.
Salt Air and Metal Corrosion
Homes within a few miles of the water pick up airborne salt that settles on fasteners, flashing, and window hardware. Over years, uncoated or poorly rated hardware corrodes, flashing tape loses adhesion at the edges, and cheap fasteners weaken exactly where they're structurally needed. It's a slow failure, which is part of why it gets overlooked — nobody notices until a window starts leaking five or eight years in.
Driving Rain, Not Just Rain
This region's rain usually comes with wind behind it, pushed in off the water. Driving rain finds the smallest gap in a flashing detail and drives water uphill and sideways, not just down. A window installed to a fair-weather standard — flashing that relies on gravity alone — will eventually leak here, even if it never leaked in a drier climate.
Moss Season and Prolonged Moisture
Whatcom County's wet season stretches long, and moss doesn't just grow on roofs — it establishes on north-facing trim, sills, and anywhere water sits instead of shedding. Wood trim and sills that stay damp for weeks at a time are what moss needs to take hold, and once it does, it holds moisture against the building longer. Correct window installation — proper slope at the sill, drainage that actually drains, materials that don't wick — is what keeps that cycle from starting in the first place.
New Construction vs. Replacement: Why the Install Method Matters
On a new build, you have access to the rough opening, the sheathing, and the weather-resistive barrier before anything covers them. That's a real advantage, but only if it's used correctly. New-construction (nail-fin) windows are designed to be integrated directly into the wall assembly's water management system — the flashing tape, the housewrap, the sill pan — in a specific sequence. Do the sequence out of order and you can trap water inside the wall instead of shedding it outward.
| Factor | New-Construction (Nail-Fin) Window | Replacement (Pocket) Window |
|---|---|---|
| When it's used | New builds, additions, full wall re-sides down to sheathing | Existing openings where siding and trim stay in place |
| Flashing integration | Fin flashes directly into WRB and sill pan — full water-management system | Relies on existing opening's flashing, which may already be compromised |
| Frame size vs. glass area | Larger glass area for the same rough opening | Frame-in-frame reduces visible glass slightly |
| Best fit for this climate | Ideal — full control over drainage before siding goes on | Workable, but only as good as the opening it's set into |
Because you're building new, you should be getting the nail-fin advantage in full. If a crew installs new-construction windows using shortcuts more typical of a replacement job — skipping the sill pan, taping out of sequence, caulk in place of proper flashing — you lose most of the benefit of building new in the first place.
Choosing a Frame Material for a Bellingham-Area Build
There's no universally "best" frame material — there's a best fit for your budget, your exposure, and how much upkeep you want to sign up for.
| Frame Type | Coastal Durability | Maintenance | Typical Fit |
|---|---|---|---|
| Vinyl | Good — won't corrode or rot; check UV/impact rating | Low — occasional cleaning | Most cost-effective, wide use across new builds |
| Fiberglass | Very good — dimensionally stable in wet/cold swings | Low | Higher upfront cost, strong long-term coastal performer |
| Wood-clad | Depends heavily on cladding quality and installation | Higher — cladding seams and interior wood need attention | Interior wood look; needs a crew that details the exterior cladding carefully in wet climates |
| Aluminum | Poor without thermal break; prone to condensation and corrosion near salt air | Moderate | Generally not our first recommendation for this area |
We're straightforward with clients about aluminum-framed windows near the water: without a proper thermal break and corrosion-resistant hardware, they tend to condensate and corrode faster in salt air than vinyl or fiberglass, and that's a maintenance burden we'd rather flag upfront than have you discover in year six.
What a Correct New-Construction Install Actually Involves
The window unit itself is often the easy part. What determines whether it performs for 20+ years is the sequence of work around it, done in the right order, every time.
- Rough opening checked square, level, and sized correctly before the window ever shows up on site
- Sloped sill pan installed so any water that gets past the window drains outward, not into the wall
- Weather-resistive barrier integrated with the flashing in proper shingle-lap order — bottom, sides, then top — so water always sheds downward and outward
- Window nail fin flashed and taped to the WRB with materials rated for this climate's temperature and moisture range
- Backer rod and sealant used correctly at the interior air seal — not as a substitute for the exterior flashing system
- Shims and fasteners set to keep the frame square without over-compressing it, which can cause operational issues later
- Exterior trim and siding tied in without trapping moisture behind the window head or sill
Skip or rush any one of these steps and the window can look perfect for years while a leak develops quietly behind the wall — which is exactly the failure mode driving rain and salt air are best at causing.
Our Process, Start to Finish
On new construction we coordinate directly with your builder or GC rather than working around them, since window timing affects several other trades.
Rough-In Review
We check openings against window schedules and manufacturer specs before ordering, catching sizing or sequencing issues while they're still cheap to fix.
Installation
Sill pans, flashing, and WRB integration go in following the sequence above — no skipped steps, regardless of weather pressure to move fast.
Trim and Weatherproofing Tie-In
We coordinate with siding and trim crews so the window's flashing system connects properly to the rest of the building envelope, rather than being an isolated detail that someone else has to work around.
Final Walkthrough
Every unit gets operated, checked for square, and inspected for a clean, consistent seal before we call the job done.
Why It Matters to Hire a Crew That Already Works Bellingham
Window installation isn't identical everywhere, and a crew that mostly works drier inland climates can install a technically fine window the wrong way for this one — using standard flashing tape in temperatures or moisture conditions it wasn't sequenced for, or sealing in a way that traps water instead of shedding it. A crew that regularly builds in Whatcom County has already seen how salt air, driving rain, and moss season play out on real jobs here, and builds accordingly from the start rather than learning it on your house. That local pattern recognition is worth more than it sounds like on paper — it's the difference between a window that's still tight in ten years and one that starts leaking quietly in five.
Cost Factors to Plan For
New-construction window costs vary by unit count, size, frame material, and glass package, but a few factors move the number more than homeowners expect.
| Factor | Why It Affects Cost |
|---|---|
| Frame material | Vinyl is generally the most budget-friendly; fiberglass and wood-clad cost more upfront |
| Glass package | Low-E coatings and gas fills add cost but improve comfort and moisture control |
| Unit size and count | Large-glass openings and full window walls cost more per unit than standard sizes |
| Flashing and sill detailing | Correct sill pans and flashing sequencing add labor time but prevent far more expensive repairs later |
| Site coordination | Tight scheduling with framing and siding crews affects labor efficiency |
We'll walk through these factors against your actual build specs rather than quoting a flat per-window number that doesn't reflect what your project needs.
If you're framing a new build in the Bellingham or Blaine area and want windows installed right the first time, we're glad to walk the plans or the site and put together a straightforward, no-pressure estimate — just fill out the form below.