 Blaine Roofing
 New-Construction vs. Replacement: Why the Distinction Matters in Everson
New-construction windows are not the same product or the same job as a replacement window dropped into an existing opening. A new-construction window has a nailing fin around its perimeter and gets installed into open stud framing before the house wrap, siding, or trim goes on. That means the window becomes part of the building's water-management system from the start, not something inserted into a finished wall later. On a new build or addition in Everson, that first install is the only chance to get the flashing sequence right — once siding covers the opening, mistakes are hidden, not fixed.
We install windows on new construction and additions throughout the Everson area, working directly with framing crews, general contractors, and homeowners managing their own build. Getting called in during framing — rather than after the siding crew shows up — is what lets us do this correctly instead of patching around someone else's shortcuts.
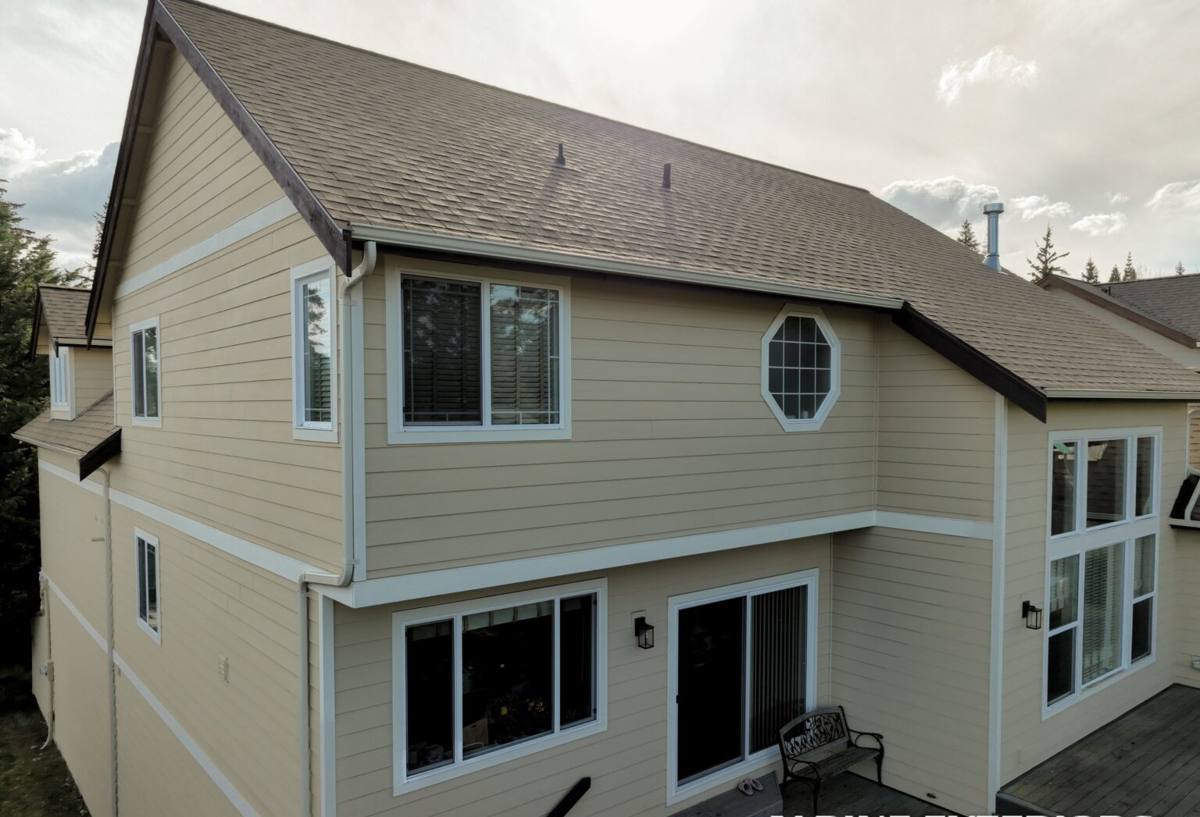
What Everson's Weather Asks of a Window Install
Everson sits inland along the Nooksack River in Whatcom County, away from the direct salt spray that hits homes on Blaine's waterfront. But it shares the same marine weather system that defines this whole corner of Washington: long stretches of driving, wind-driven rain, high ambient humidity, and a moss season that runs most of the year on anything that stays damp and shaded. That combination doesn't care whether a house is a mile from Semiahmoo Bay or twenty miles inland — it tests every seam, joint, and flashing lap the same way.
For a new-construction window, the practical risk isn't the window unit itself failing — modern windows are engineered to shed water. The risk is what happens around the window: water getting behind the flashing, into the stud bay, and sitting there through a wet Whatcom County winter without anywhere to drain or dry out. A window that's flashed correctly on day one will outlast the house. One that's flashed wrong can cause rot inside a wall years before anyone sees a stain.
How a Correct New-Construction Window Install Goes Together
The Sill Pan Comes First
Before a window ever sets into the rough opening, the sill should have a sloped, sealed pan — factory-made or built up with flashing membrane — so any water that gets past the window in a heavy storm has somewhere to go besides the framing. This is the step that gets skipped most often on fast-moving builds, and it's the one that matters most in a climate with this much sustained rain.
Flashing in the Right Order
Flashing tape and building paper have to lap the way water actually flows: house wrap over the head flashing, side flashing over the sill pan, and the whole assembly shingled so every layer drains onto the one below it, never the reverse. Get the order backward and you've built a funnel instead of a barrier — it can look identical from the outside.
Nailing Fin and Fastening
The nailing fin gets fastened per the manufacturer's schedule, square and plumb, with shims set so the window isn't relying on the fasteners to hold its shape. A window installed slightly out of square will bind, leak at the corners, or wear its weatherstripping unevenly within a few years.
Sealing and Insulating the Gap
The gap between the rough opening and the window frame gets backer rod and low-expansion foam or non-expanding insulation — never packed solid with high-expansion foam, which can bow the frame and cause the window to stick or leak at the corners.
A quick checklist for what should be true before siding ever goes on:
- Sloped, sealed sill pan in place before the window sets
- Flashing lapped in shingle order — house wrap over head flashing, never under it
- Window shimmed square and plumb, not just nailed to the opening
- Fasteners installed per the manufacturer's schedule, not "close enough"
- Gap between frame and framing sealed with backer rod and low-expansion foam
- Interior and exterior sealant beads continuous, with no gaps at corners
Choosing Materials for a New Build in This Area
Material choice matters more on new construction than on a one-off replacement, because whatever goes in now is what the homeowner lives with for the next few decades. There's no single right answer — it comes down to budget, maintenance appetite, and how much moisture exposure the specific elevation of the house will see.
| Material | Upfront Cost | Maintenance | Moisture Performance |
|---|---|---|---|
| Vinyl | Lowest | Minimal — no painting or sealing | Good; won't rot, but seams need correct installation to stay watertight |
| Fiberglass | Mid to high | Low; holds paint well if color changes are wanted later | Very good; stable in wet-dry cycling, resists warping |
| Wood-clad | Highest | Higher; exterior cladding helps, but joints and sills need periodic attention | Good if detailed and maintained; more sensitive to installation errors |
In a climate with this much sustained rain and moss growth, we lean toward materials and finishes that don't depend on a homeowner staying on top of yearly upkeep to perform well. That's a professional judgment call based on how these products behave over time in wet climates, not a knock on any manufacturer — every one of these materials can perform for decades when it's specified and installed correctly for the site.
Meeting Washington's Energy Code in a Whatcom County Climate Zone
Washington's energy code sets minimum performance requirements for new construction glazing, and Whatcom County falls in a colder climate zone than most of western Washington's I-5 corridor. In practice that means the U-factor and solar heat gain targets on new windows here are stricter than what you'd see required in a milder zone, and every window installed needs an NFRC label documenting it meets code for the jurisdiction.
Dual-pane, low-E glazing is the baseline most new builds use to meet code affordably. Triple-pane glazing costs more up front but can be worth it on north-facing or particularly exposed walls, both for comfort and for reducing interior condensation during the coldest, wettest stretches of the year — condensation on interior glass is common in this climate even with a well-built house, and glazing choice is one of the few things that meaningfully changes how much of it you see.
Our Process: From Rough Opening to Final Trim
On a new build or addition, timing is everything. We coordinate with the framing crew or general contractor so windows go in after the rough opening is framed correctly and the structure is squared, but before siding starts — ideally right behind roof dry-in, so the openings aren't sitting exposed to weather any longer than necessary.
- Verify rough openings against the window schedule before delivery, catching sizing issues before they become install-day problems
- Install sill pans and flashing in the correct shingled sequence
- Set, shim, and fasten each window square and plumb
- Seal and insulate the perimeter gap
- Document the flashing and sealing work with photos before house wrap and siding cover it, since it can't be visually re-checked afterward
That documentation step matters on new construction specifically — once the siding crew moves in behind us, nobody can look at the flashing again without tearing into the wall. We'd rather have a photo record than an argument later about what's under there.
Mistakes We See on New Builds in This Area
Most window problems on new construction don't come from a bad window — they come from rushed sequencing. The recurring issues we get called to correct or work around include windows set without a sill pan, house wrap lapped under the head flashing instead of over it, openings caulked shut instead of properly flashed, and gaps overfilled with high-expansion foam that bowed the frame. Every one of these is avoidable with the right sequence and a crew that isn't racing to get to the next opening.
Why a Crew That Already Works in Everson Makes a Difference
New construction has more moving parts than a straightforward replacement — coordinating with a general contractor's schedule, working around framing and roofing crews, and pulling any required Whatcom County permits and inspections at the right point in the build. A crew that already works in and around Everson knows how that coordination typically flows locally, isn't learning the area's weather patterns on your job, and isn't a stranger to the rural and semi-rural lot conditions common around here.
There's also a practical overlap worth mentioning: we're a roofing company first, which means flashing, water-shedding sequences, and how one building material laps over another are the core of what we do every day. That same water-management thinking is exactly what a correct window install depends on — the flashing at a window head or sill follows the same shingle-lap logic as flashing at a roof-to-wall intersection. It's not a separate skill we picked up; it's the same one applied to a different part of the building envelope.
Get a Straight Answer Before You Build
If you're framing a new home or addition in Everson and want the windows done right the first time, we're happy to walk the plans, talk through material and glazing options for your specific elevation, and give you a straightforward, no-pressure estimate. Use the form below to get started.