 Blaine Roofing
 New-Construction Windows in Custer: Getting the Opening Right the First Time
When a house is going up in Custer, the windows only get installed correctly once. Unlike a replacement job on an older home, new-construction window installation happens while the framing, weather-resistive barrier, and siding are all still open and accessible. That's an advantage — but only if the crew doing the work understands how to sequence flashing, sills, and cladding so water sheds outward for the next 30-plus years. Get it wrong at this stage and the mistake gets buried behind siding and trim, where it won't show up until there's a stain on the drywall or soft wood at the sill.
Blaine Roofing Co installs windows as part of new builds and additions in Custer and the surrounding Blaine area, working directly with the framing and siding sequence rather than treating windows as a separate, disconnected trade.
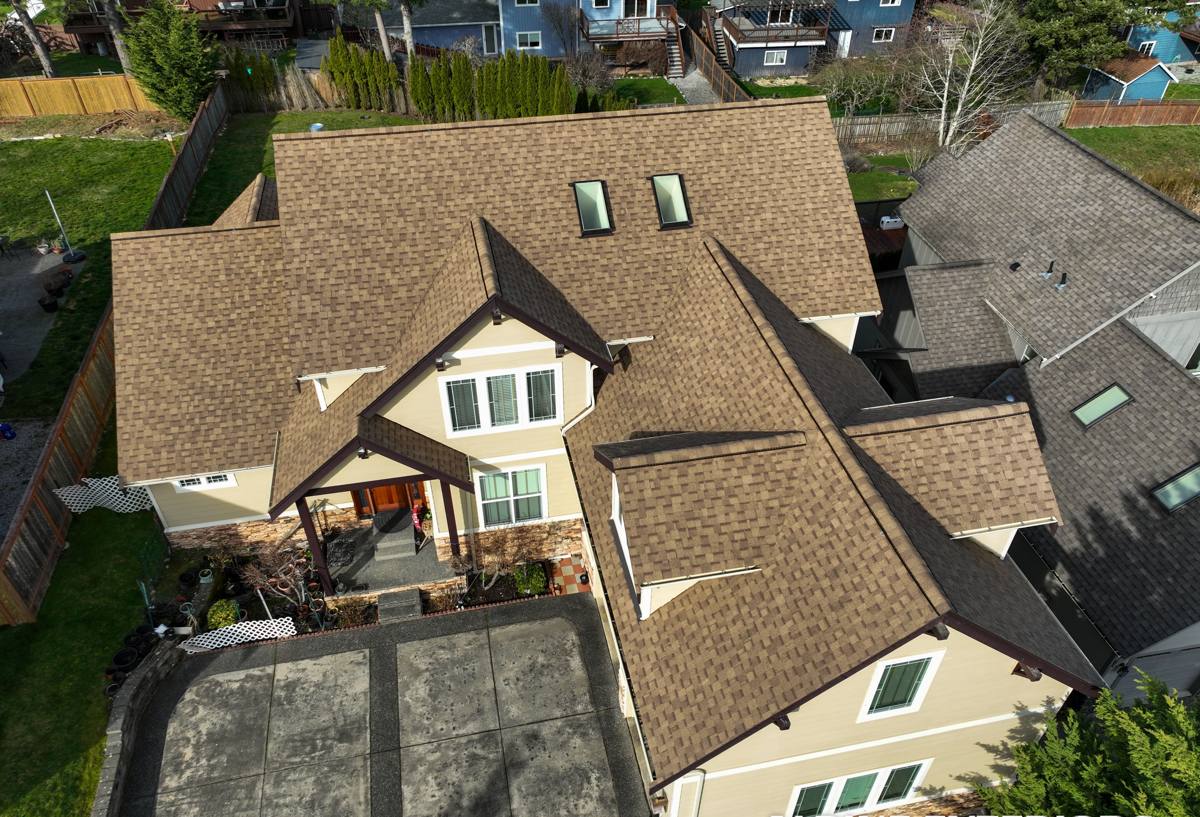
What Custer's Climate Does to a Window Opening
Custer sits close enough to Semiahmoo Bay, Drayton Harbor, and the Strait of Georgia that salt-laden air is a real factor for exposed hardware, fasteners, and unprotected wood trim. Add in Whatcom County's wind-driven rain events — where storms off the water push moisture sideways into wall assemblies rather than straight down — and a window opening here takes a different kind of abuse than one on the dry side of the state.
Then there's moss. Custer's long wet season, combined with shaded north and east elevations common on wooded lots, keeps sills, casings, and low-slope trim damp for months at a time. Moss and algae don't just look bad — they hold moisture against wood and caulked joints, which accelerates rot and breaks down sealant faster than it would in a drier climate. A window detail that would be fine in eastern Washington can fail here in a fraction of the time if it isn't built to shed water and dry out quickly.
The three things we're always designing around
- Wind-driven rain finding any gap in the flashing sequence, not just the face of the window
- Salt air accelerating corrosion on fasteners, hinges, and hardware left exposed or under-protected
- Persistent shade and moisture on north/east elevations feeding moss and slowing drainage
New Construction vs. Replacement: Two Different Jobs
People sometimes assume "installing a window" is the same task regardless of context. It isn't. In a replacement, the crew is working around existing siding and trim, often using a pocket or insert method that leaves the original nailing flange and flashing in place. In new construction, the rough opening is bare — framing on one side, open sheathing and building wrap on the other — which means the entire flashing and drainage plane has to be built from scratch, correctly, in the right order.
| Factor | New Construction | Replacement |
|---|---|---|
| Access to rough opening | Fully exposed studs and sheathing | Limited — existing siding/trim in place |
| Flashing method | Full sill pan, jamb, and head flashing built into the WRB | Works with or patches existing flashing |
| Window type | New-construction flange (nail fin) units | Typically pocket or insert-style units |
| Sequencing | Coordinated with framing, wrap, and siding crews | Standalone visit, siding usually undisturbed |
| Risk if done wrong | Hidden behind finished wall for years | Often more visible/accessible to fix later |
What a Correct New-Construction Install Actually Involves
The window unit itself is only part of the job. The flashing sequence around it is what actually keeps water out, and it has to happen in a specific order so every layer sheds onto the one below it — like shingles on a roof.
The sequence we follow
- Sill pan flashing installed first, sloped slightly to the exterior so any water that gets past the window has somewhere to go besides the framing
- Jamb flashing integrated with the weather-resistive barrier on both sides of the opening
- Window set plumb, level, and square, fastened per the manufacturer's schedule — not just "close enough"
- Head flashing installed last and lapped over the WRB above the opening, so water draining down the wall runs over the flashing, not behind it
- Sealant applied only where it's supposed to be — sealing the wrong joint can trap water instead of keeping it out, which is a common mistake we see in call-back inspections
Weep paths at the sill and bottom of the frame have to stay clear once siding and trim go on. It's a small detail that gets missed constantly, and it's one of the first things we check before signing off on our own work.
Choosing the Right Window for a Custer Build
Frame material matters more here than it does on a dry-side build, mainly because of salt air exposure and the long wet season. There's no single "correct" answer for every home — it depends on budget, exposure, and how the rest of the exterior is detailed — but here's how the common options generally compare for this climate.
| Frame Type | Coastal/Salt Air Behavior | Maintenance | General Cost Position |
|---|---|---|---|
| Vinyl | Good corrosion resistance; hardware quality varies by manufacturer | Low | Most economical |
| Fiberglass | Very stable in moisture and temperature swings; strong long-term option | Low | Mid to upper |
| Wood-clad | Interior wood look with an exterior cladding layer; cladding and flashing detailing matters a lot here | Moderate | Upper |
| Aluminum | Strong but conducts heat/cold and needs a quality thermal break; hardware exposed to salt air should be corrosion-rated | Low to moderate | Mid to upper |
Whatever frame material a homeowner or builder chooses, we pay close attention to hardware ratings and glazing package rather than steering people toward one brand. On a house this close to the water, corrosion-resistant hardware and a tight glazing seal matter more than the frame material label on the spec sheet.
Energy Code and Glazing for This Climate
Washington State Energy Code sets minimum performance requirements for new-construction glazing, and in a marine climate like Whatcom County, the glazing package does real work — not just for heating bills, but for controlling condensation on cold, wet mornings. Low-E coatings and gas-filled dual-pane units are standard practice on new builds in this area for good reason: they cut down on interior condensation, which matters given how much of the year Custer sits at high humidity.
Egress requirements are the other piece worth flagging early. Bedroom windows have minimum opening size and sill height requirements under building code, and it's far cheaper to size the rough opening correctly during framing than to discover an egress problem at final inspection.
Our Process, From Rough Opening to Final Trim
We work directly with the builder's schedule rather than parachuting in as an isolated sub. That typically looks like:
- Reviewing rough openings against the window schedule before the WRB goes on, catching sizing issues while they're still cheap to fix
- Installing sill pans and flashing in sequence with the building wrap, not after it
- Setting and fastening windows to manufacturer specification
- Coordinating head flashing and kick-out details with whoever is installing siding, so there's no gap in responsibility between trades
- Walking the openings before siding closes them up for good
That last step is the one that gets skipped most often on jobs where windows and siding are handled by two crews who never actually talk to each other. We do both, which removes that gap.
Why Hiring a Crew That Already Works Custer Matters
A lot of window failures in this area trace back to details that work fine in a different climate but weren't adjusted for Whatcom County's exposure — a sill pan skipped because "it doesn't rain that much where I usually work," or trim sealed in a way that traps moss-fed moisture instead of letting it dry out. A crew that regularly works Custer and the Blaine area knows which elevations take the worst wind-driven rain, how much shade and moss exposure to plan for, and how local building department inspectors expect flashing details to be documented.
There's also a practical scheduling benefit: a contractor already working in the area isn't adding a long drive or a one-off trip charge to the job, and can more easily coordinate a walk-through with your framer or general contractor without disrupting the build timeline.
Pre-Install Checklist for Custer New Builds
Whether you're a homeowner working with a builder or a GC evaluating a window sub, this is what should be confirmed before openings get closed up:
- Rough openings measured and verified against the actual window schedule, not just the plans
- Sill pan flashing installed and sloped to drain outward
- Flashing integrated with the WRB in proper shingle-lap order (sill, jambs, then head)
- Windows set plumb, level, square, and fastened per manufacturer spec
- Weep paths at the sill confirmed clear and not blocked by insulation, trim, or sealant
- Glazing package confirmed to meet Washington State Energy Code requirements
- Egress-required bedroom windows checked against code minimums before framing is finalized
- Hardware and fasteners rated for coastal/salt-air exposure on exterior-facing elevations
If you're building new in Custer and want window installation handled by a crew that treats flashing and sequencing as seriously as the windows themselves, we're happy to walk the plans with you and provide a free, no-pressure estimate.